Create Frameworks By Using Xcode Playgrounds First
Most of the time, when we begin creating frameworks, we always start by running Xcode, choosing new project, then creating the Cocoa Framework project template. If you’re building frameworks at the start like this, I suggest you start using Xcode Playgrounds more often.
The huge disadvantage of beginning frameworks using this default project template is that you can’t test your code right away. Yes, you can test them using unit tests, however, it will be another code to write, and it constantly changes as you build your framework. Creating unit tests in the beginning is a great way to quickly build your code coverage for unit tests as your framework grows, but it takes time especially if you keep refactoring your code (let’s also hope that Xcode supports Swift refactoring in the near future). Another way to quickly test your framework is to create an example app. But then again, you’ll have to take extra steps to link your framework.
The best way to start off a framework really is to use Xcode Playgrounds. People usually use it to begin learning Swift as it outputs the values of your variables or expressions right beside your code. Developers also sometimes use it as a sample code for their frameworks, for users to quickly test out their features. You can also use it as a playground to build your framework in the beginning.
Xcode Playgrounds has a nice feature that let’s you add your own source files for your code besides the one on the playground. You can view it in the Project Navigator of Xcode (View -> Navigators -> Show Project Navigator or simply ⌘1).
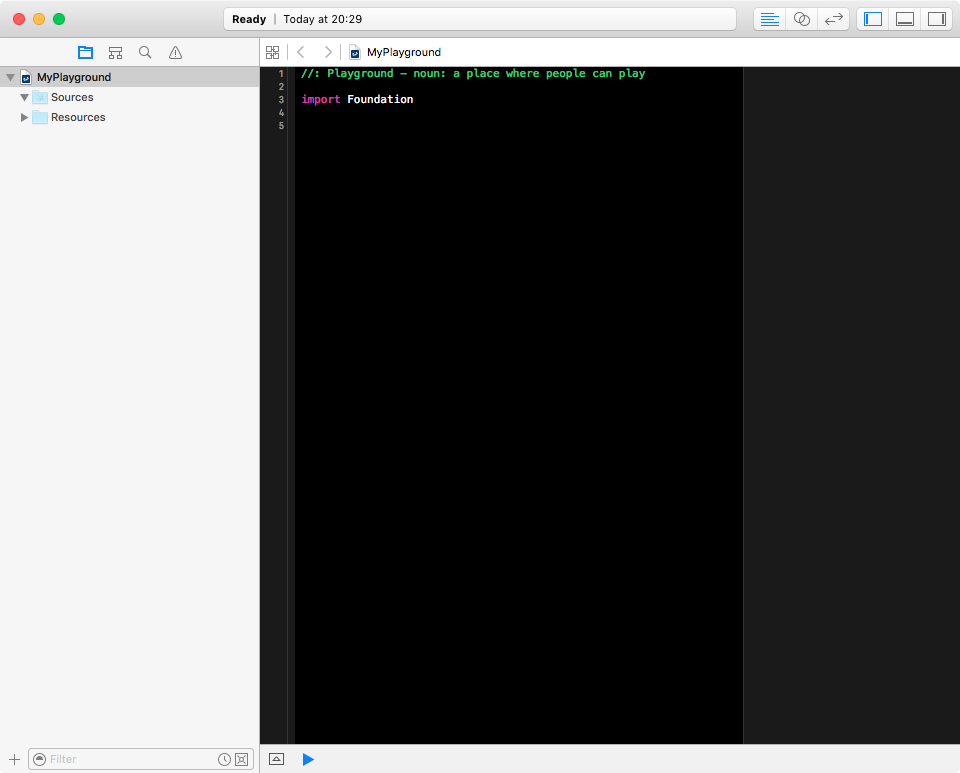
You’ll see there that there is a Sources folder, which is where you should put your source files. Keep in mind that you should use public modifiers if needed to lessen the work needed to move it to a framework project. The source code here will also be compiled, which means that Xcode Playgrounds will not recompile these if you change one small code in your playground’s main code. On the other hand, the Resources folder is where you should put some of the sample files you’ll be using. The files in that folder will be placed in the main bundle, your “app’s” main bundle, which you can access by using NSBundle.mainBundle().
The good thing about using the playground first is that it lets you quickly test out your code and look for bugs sooner compared to finding bugs using unit testing. This also lets you easily refactor your code, change file names without having to worry about breaking unit tests. The Resources folder is also a great way to place your test input files if your framework needs them.
Once you’re done testing it out, and finalizing file, class, protocol, or struct names, you can now finally move them into your project, which you should also provide them with proper unit tests.
Of course, Xcode Playgrounds has its limitations, such as lack of access to hardware, which would be needed to build more advanced frameworks. Nevertheless, as much as possible, you should use Xcode Playgrounds more often to greatly speed up your development time.